Bone Broth
This is a diet supplement. Essentially what we are doing is boiling the goodness out of the bones and in to a liquid which we feed to the dogs.
You can download a PDF of the recipes for your own reference: Chihuahua-Recipes_Bone-broth.pdf.
Before you start
Before you start, consider the following:
- You will need a heavy duty big pot. I use a five litre camp oven.
- Regarding the selection of bones: they should not be marrow bones. They should be beef neck bones or lamb neck bones.
- Chicken necks can be bought at many supermarkets.
- Use at least three raw chicken feet. Most chicken shops and butchers carry them or can order them in for you. I buy a bag full and freeze them.
- Have muslin material or a very fine sieve ready to use PLUS a coarser sieve as well.
Ingredients
- 6 - 10 chicken feet
- 5 - 6 chicken necks
- 1 chicken carcass broken up
- 4 - 6 smallish beef or lamb bones cut up in to smaller pieces.
- 3 tablespoons of Apple Cider Vinegar in a five litre mixture (so depends on the size of your pot).
- 1 carrot cut in slices
- 1 stick of celery cut in slices
- Enough water to cover
Cooking Instructions
-
Fill your pot up to three quarters full with the bones.
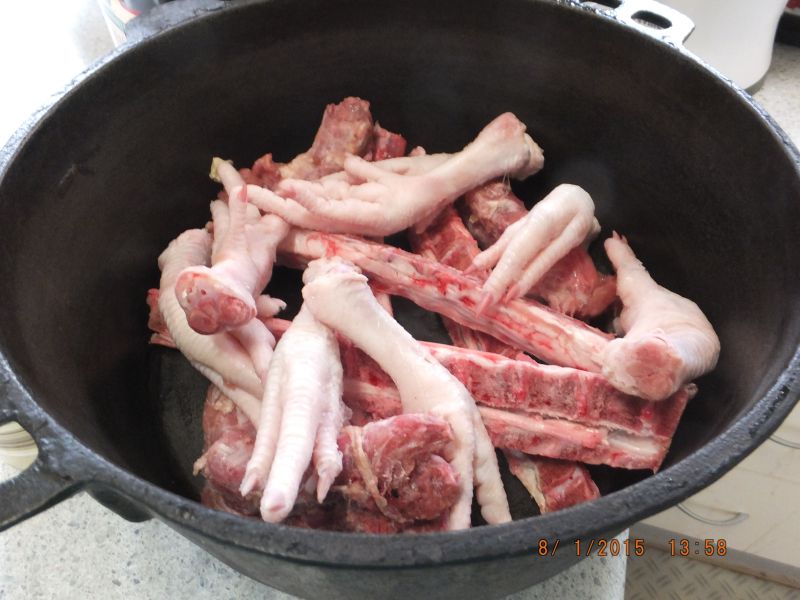 Fill your pot up to three quarters full with the bones.
 - Add one carrot cut in slices, a stick of celery cut in slices and the 1/2 cup of Apple Cider Vinegar.
-
Cover the lot with water, four or five centimetres above the level of the bones. Put a lid on the pot and allow to sit for half hour.
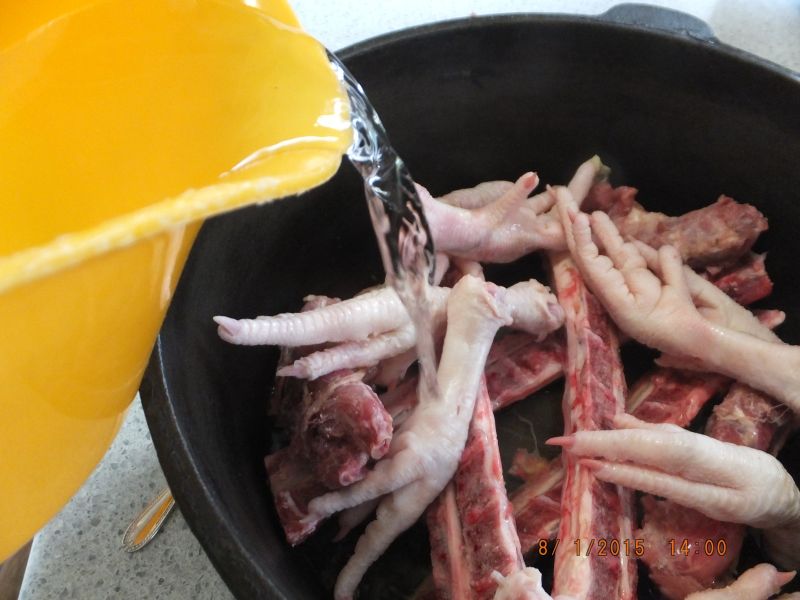 Cover the lot with water, four or five centimetres above the level of the bones. Put a lid on the pot and allow to sit for half hour.
 -
Put the pot on a lit stove top and bring to boil on high for ten minutes. Remove any scum with a large spoon and discard.
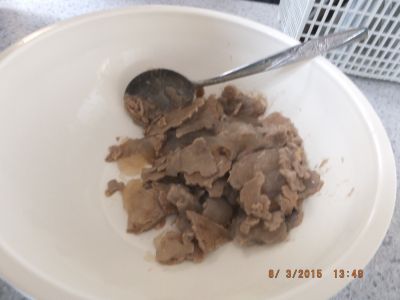 Put the pot on a lit stove top and bring to boil on high for ten minutes. Remove any scum with a large spoon and discard.
 -
Reduce to the lowest heat possible and let it simmer away for eight to twelve hours depending how low you can get the heat. The water should be barely moving in the pot and definitely not bubbling away.
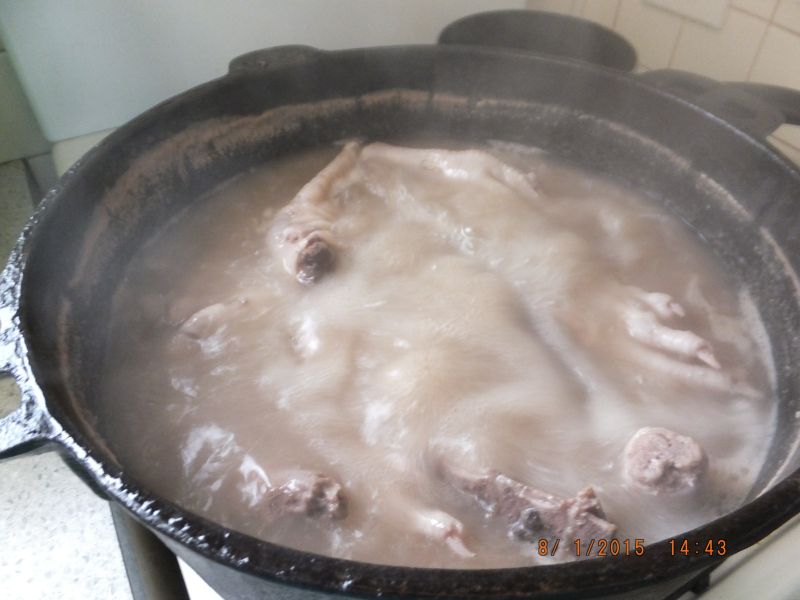 Reduce to the lowest heat possible and let it simmer away for eight to twelve hours depending how low you can get the heat. The water should be barely moving in the pot and definitely not bubbling away.
- Alternative. We have a gas oven so usually put the pot in the oven on the lowest heat and leave it all night.
- You may need to remove more scum from time to time during the first two hours (stove or oven).
- Check every now and then to ensure the water is not evaporating too quickly (stove or oven). Add more water if it drops below the top of the bones.
- Turn off the heat and take out all bones. They should be discarded. Do not feed these to your pets!
-
Strain the broth through a coarse sieve to remove all the larger pieces of meat and bones that you cannot pick out by yourself. Discard the bone and meat strained off.
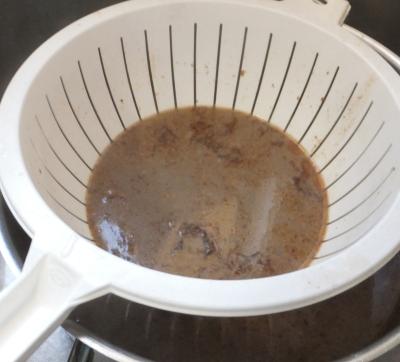 Strain the broth through a coarse sieve to remove all the larger pieces of meat and bones that you cannot pick out by yourself. Discard the bone and meat strained off.
 -
Strain the broth a second time, this time through muslin material or a very fine sieve to remove all the smallest meat and bone particles left in the mixture. Discard the bone and meat strained off.
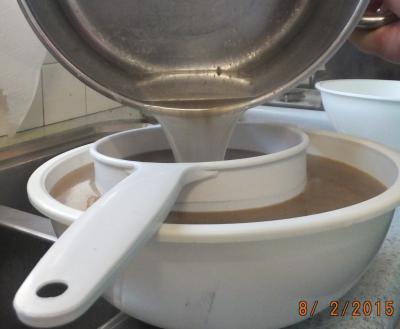 Strain the broth a second time, this time through muslin material or a very fine sieve to remove all the smallest meat and bone particles left in the mixture. Discard the bone and meat strained off.
 -
Allow the broth to cool on your bench top.
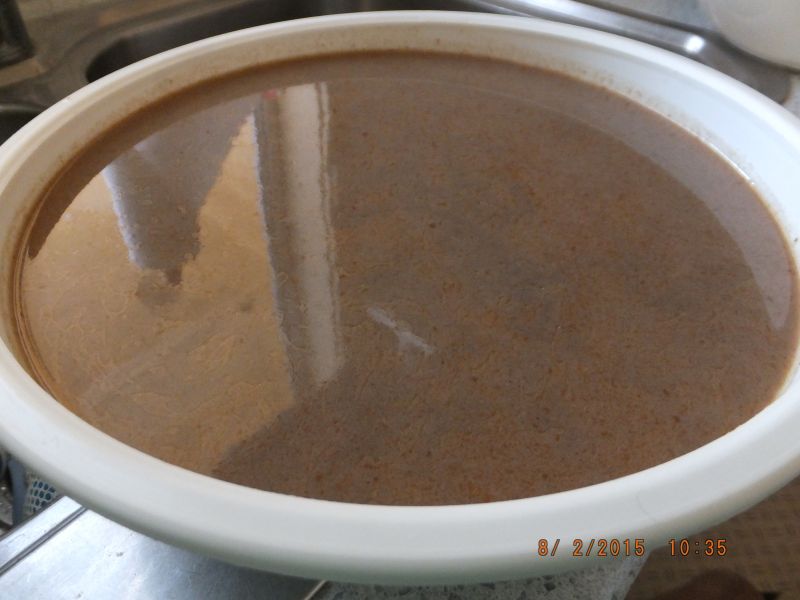 Allow the broth to cool on your bench top.
 -
Put it in the refrigerator to set for at least five hours. When set, it will look like a jelly rather than a liquid.
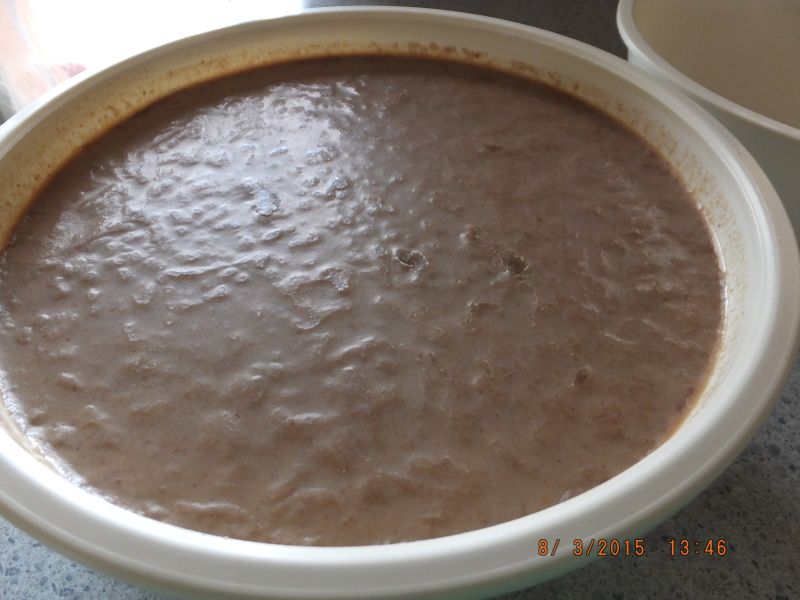 Put it in the refrigerator to set for at least five hours. When set, it will look like a jelly rather than a liquid.
 -
Once set, there will be a fatty type layer on top. Take this off and discard it. The rest will be a brownish jelly and ready to use.
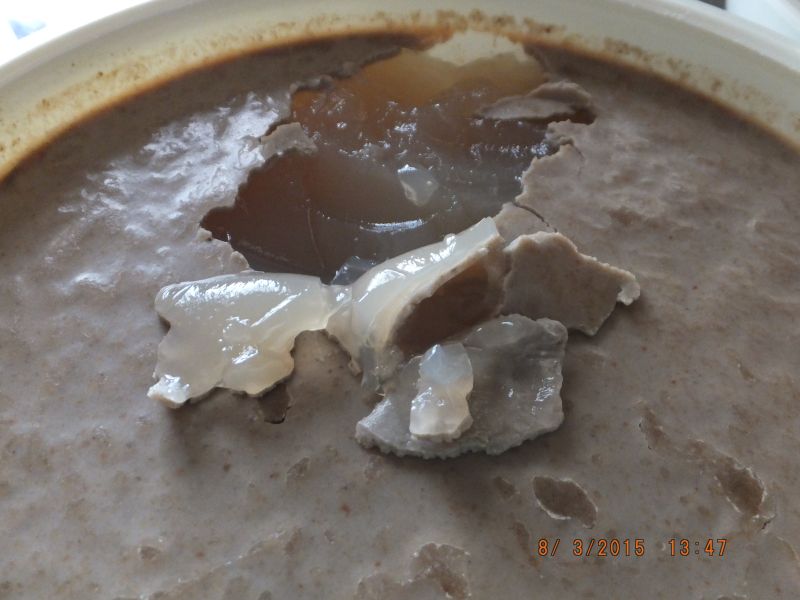 Once set, there will be a fatty type layer on top. Take this off and discard it. The rest will be a brownish jelly and ready to use.
Storage
From the fresh batch just made, take out a cup's worth and keep it in the fridge in a small plastic container. Refrigerated, the broth will only keep for three or four days, so do not use it beyond that.
The remainder can be divided up into smallish containers and frozen. This material should not kept in a freezer longer than six months. We suggest putting a sticker on the container and label it with the date you prepared the food so you will know if it has been kept for too long. Discard frozen broth older than six months.
When choosing containers to freeze the broth in, keep in mind that the larger Chihuahuas should only get one teaspoon a day, and the broth won't last in the fridge more than three to four days.
Feeding instructions
As mentioned earlier, I freeze the jelly in smaller containers as the jelly will only keep for a few days in the fridge.
Introduce this to your dogs for the first time in very small amounts because it will go through them real quick! Just give them a taste on the first day: a quarter of a teaspoon once a day for the next two days. If they get loose bowels (diarrhoea or runny, liquid poo) then stop for a day.
From the fourth day onwards, if they have experienced no negative side effects, increase the amount you give them by another quarter teaspoon every two days. Do not go above half a teaspoon each day for tiny Chihuahuas, while the larger Chihuahuas can have a level teaspoon each day.
Each morning give then one small teaspoon of jelly (or microwave it until melted) and add it to their normal food. After a while you will notice their coats become glossy and healthy and their general health is greatly improved.
Chihuahua Rescue Victoria is a non-profit organisation. The advertisement below supports us directly but was not created by us and is in no way endorsed by us. It is presented here by Google Ad Services.
